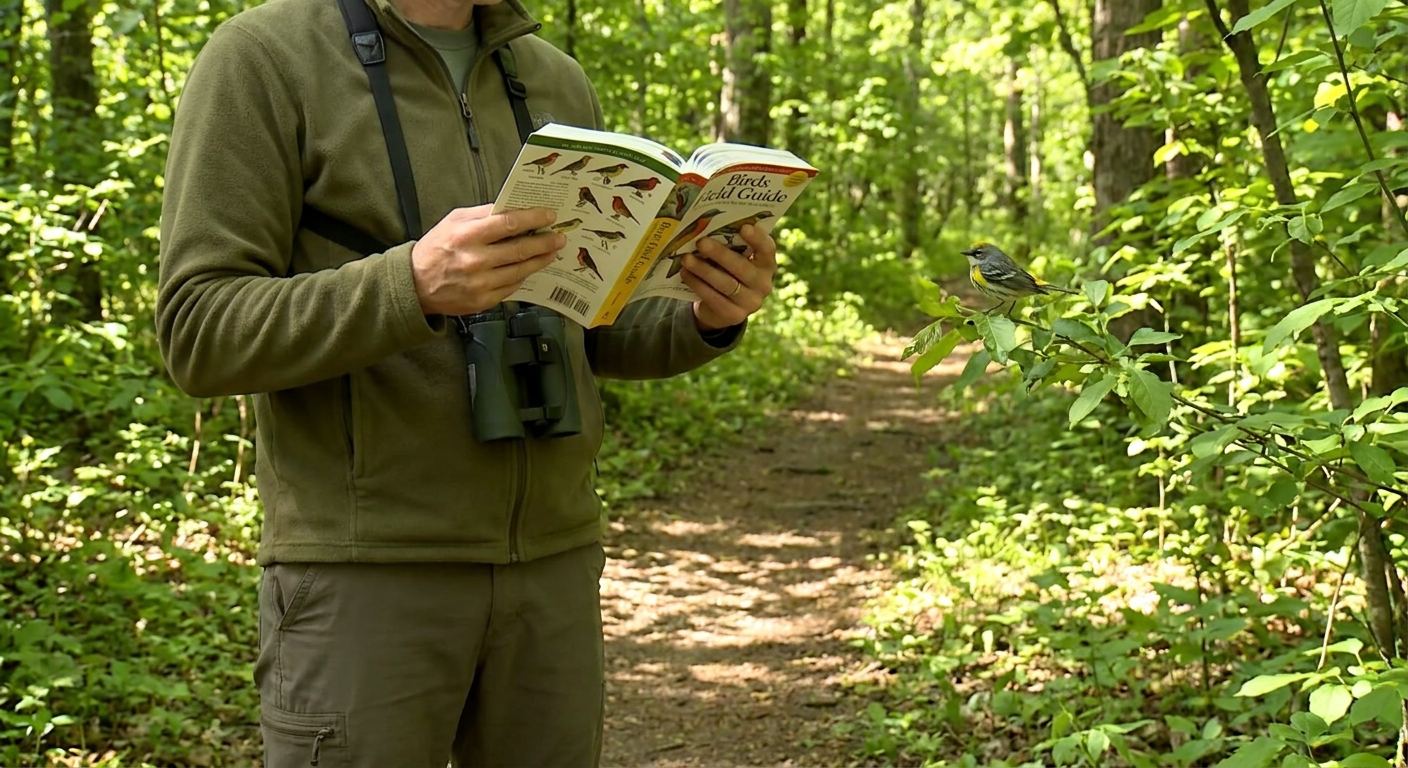
Bird apps are fast and clever, but a good field guide teaches you to see. It slows you down just enough to notice the curve of a bill, the precise shade of an eye ring, or how a bird holds its tail when it drops into cover. Those small details are the raw material of identification—and field guides are built around them.
Why Field Guides Still Matter in a Digital Age
Think of a field guide not as a book of answers, but as a training manual for your attention. Used well, it turns every walk into a field lab and every bird into a puzzle you can solve.
This article walks you through how to actually use a field guide—on the trail, in your lap at home, and in that confusing space between “little brown bird” and a confident ID.
Step 1: Choose the Right Field Guide for Your Birding Life
Before you can use a guide efficiently, you need one that fits the way you bird.
Pick by Region and Scale
- National guides (e.g., all of North America) are great for travel and big-picture learning, but can be overwhelming at first.
- Regional guides (e.g., Eastern, Western, state-based) reduce clutter and focus on likely species.
If you’re new to birding, a good strategy is:
- Start with a regional guide for the species you’re most likely to see.
- Add a broader guide later, to prepare for trips and rarities.
Pick by Illustration Style
Field guides usually rely on either paintings or photos:
- Illustrated (painted) guides show the ideal field marks clearly and consistently. Great for learning key features.
- Photo guides show real birds in real light and postures, but can sometimes obscure subtle details.
Try to spend time with each style. Many birders ultimately use both: paintings for learning features, photos for understanding real-world variation.
Consider Layout & Extra Features
When sampling a guide, flip to a page at random and ask:
- Are similar species grouped together?
- Are maps, plates, and descriptions easy to cross-reference?
- Does the guide highlight key field marks with arrows or bold text?
A book that feels intuitive in the store or online preview will be easier to use quickly on the trail.
Step 2: Learn to Navigate Your Guide Without Getting Lost
A field guide only helps if you can reach the right page before the bird flies.
Start With Habitat, Season, and Size
Before opening the book, run a quick checklist in your head:
- Habitat: forest edge, marsh, backyard feeder, open field, rocky shoreline?
- Season: early spring, late fall, midwinter? Migration or breeding season?
- Size: sparrow-sized, robin-sized, crow-sized?
These three alone will eliminate a huge swath of possibilities.
Use the Visual Index and Families
Most modern guides have a visual index: silhouettes or thumbnail plates at the front or back.
- Match the general shape of your bird: duck, shorebird, hawk, songbird.
- Note the family name (e.g., "sparrows," "warblers," "sandpipers").
- Flip to that family’s section.
Over time, you’ll memorize roughly where families sit in your guide. Some birders even add small colored tabs to speed this up:
- Blue for waterbirds
- Green for forest songbirds
- Yellow for warblers
- Brown for sparrows
Step 3: Train Your Eye on the Right Field Marks
A good field guide doesn’t just show what birds look like. It shows where to look.
Work From General to Specific
When you finally land on a promising page, resist the urge to chase exact plumage right away. Start broad:
- Structure: bill length and shape, body proportions, tail length.
Posture: upright, horizontal, tail often cocked, or drooped?
Behavior: creeping along bark, flycatching, ground-feeding, flocking?
Then refine:
- Head: eye ring, eyebrow (supercilium), crown stripe, cheek contrast.
- Wings: wingbars (one, two, none), patches, pattern in flight.
- Tail: color pattern, obvious outer tail feathers, how it’s flicked.
- Underparts: clean, streaked, spotted, washed with color?
Use the Guide’s Built-In Cues
Look carefully at the artwork and text:
- Arrows or labels often point to critical marks most beginners miss.
- Side-by-side plates often show similar species in the same pose.
- Notes may say “Best told from X by…”—this is where the gold is.
When you read a description, underline or mentally highlight phrases like:
- “Only sparrow with…”
- “Always shows…”
- “Never has…”
These absolutes are powerful when combined with your notes.
Step 4: Let Season and Range Narrow the Field
The back-of-book maps aren’t decorations; they’re filters.
How to Read Range Maps With Skepticism (and Confidence)
When you find a candidate species:
- Check the range map.
- Match it to your location and date.
If the map shows your area only in winter, but you’re birding in June, question the ID. Likewise, a bird widespread year-round in your area becomes more plausible.
Remember:
- Maps are generalized and sometimes outdated.
- Vagrants and expanding ranges happen.
Use range as a strong clue, not absolute law—especially if your bird seems to fit every other mark.
Step 5: Use Your Guide After the Bird Flies
Some of the best learning happens once the bird is gone.
Turn Field Notes Into Field Wisdom
Carry a small notebook or use your phone’s notes app. Immediately after a sighting, jot down:
- Size & shape (compare to a known bird: “smaller than robin”)
- Main colors & pattern ("brown upperparts, streaked chest, white outer tail feathers")
- Behavior ("pumping tail, feeding on ground at field edge")
- Voice (phonetic scribbles are fine: "tseep-tseep" vs "sharp tik")
When you’re back at your car or home:
- Open your field guide slowly and rebuild the bird from your notes.
- See which species match most of what you wrote, not just one flashy mark.
- Read the full account—pay special attention to similar species.
This practice rewires your attention. Soon you’ll start noticing in the field what you once needed the book to point out.
Step 6: Combine Guide, Gear, and Technique
A field guide shines brightest when paired with thoughtful field craft.
Binoculars and Timing
- Use 8x or 10x binoculars and focus quickly before grabbing the book.
- Scan the bird head-to-tail in the binocular view, naming features to yourself.
- Don’t open the guide until the bird has moved or you’ve run out of things to notice.
Keep the Guide Accessible
- Use a small daypack or large jacket pocket for quick access.
- In wet weather, stash the guide in a zip bag you can still open fast.
- Some birders keep a “car copy” and a “trail copy” to reduce weight.
Work With Others, Not Just the Book
When birding with friends:
- Look at the bird first, then check the book together.
- Ask, “What do you see that matches this plate?” and “What’s different?”
This makes every page of the guide a discussion, not just a verdict.
Vivid Field Notes: A Sparrow at the Edge of the Trail
Imagine a chilly April morning. You’re walking a weedy field margin when a small brown bird flushes ahead of you and lands low in a shrub.
What you notice:
- Size: smaller than a robin, chunkier than a warbler.
- Tail: longish, flicked downwards as it moved along the branches.
- Face: clear gray cheek, subtle but crisp eyebrow.
- Chest: fine streaking across a grayish wash, not blotchy.
- Habitat: brushy field edge with scattered shrubs.
- Season: early spring migration.
Back at the car, you open your regional guide:
- Use the visual index to jump to sparrows.
- Narrow options by season and habitat: some are winter-only, some strictly marsh birds.
- Compare plates of look-alikes: Song Sparrow, Savannah Sparrow, Lincoln’s Sparrow.
- Your notes on fine chest streaking, a gray face, and subtle eyebrow draw you to Lincoln’s Sparrow.
- The text notes: “Understated, finely streaked breast; buffy wash across upper chest; often in brushy edges in migration.”
Your field guide hasn’t just named the bird—it’s taught you which traits matter next time you meet one.
Building a Lifelong Conversation With Your Field Guide
Over months and years, a good field guide becomes weathered, dog-eared, and quietly personal:
- Margins fill with date and location notes for first sightings.
- Tiny checkmarks appear by species you’ve confidently identified.
- Sticky notes flag nemesis birds and confusing groups.
Used this way, your guide stops being just a reference and becomes a running conversation between you, the birds, and the places you walk.
Every time you open it, you’re not just asking, “What is this bird?”
You’re also asking, “What else can I learn to notice next time?”
That question is the heartbeat of birding—and the reason a field guide never really goes out of style.