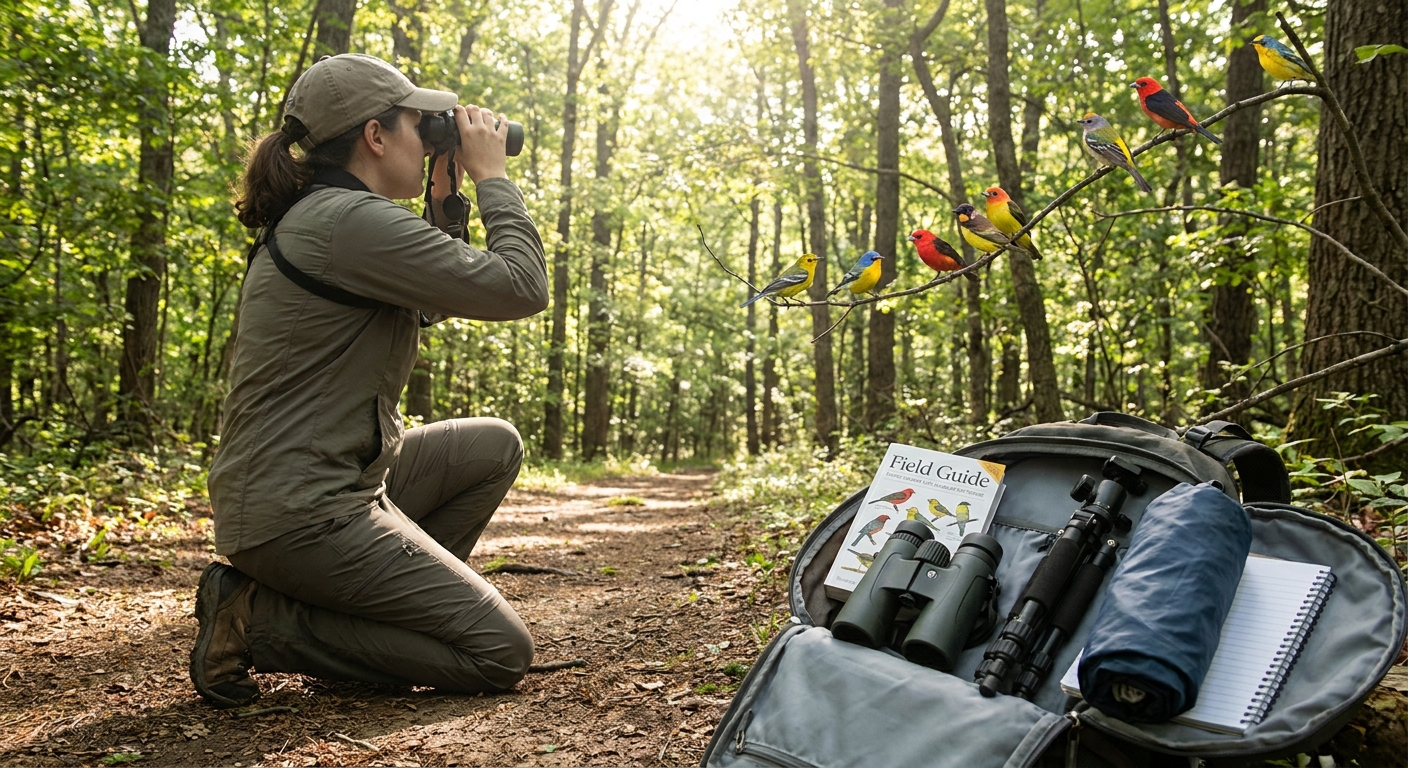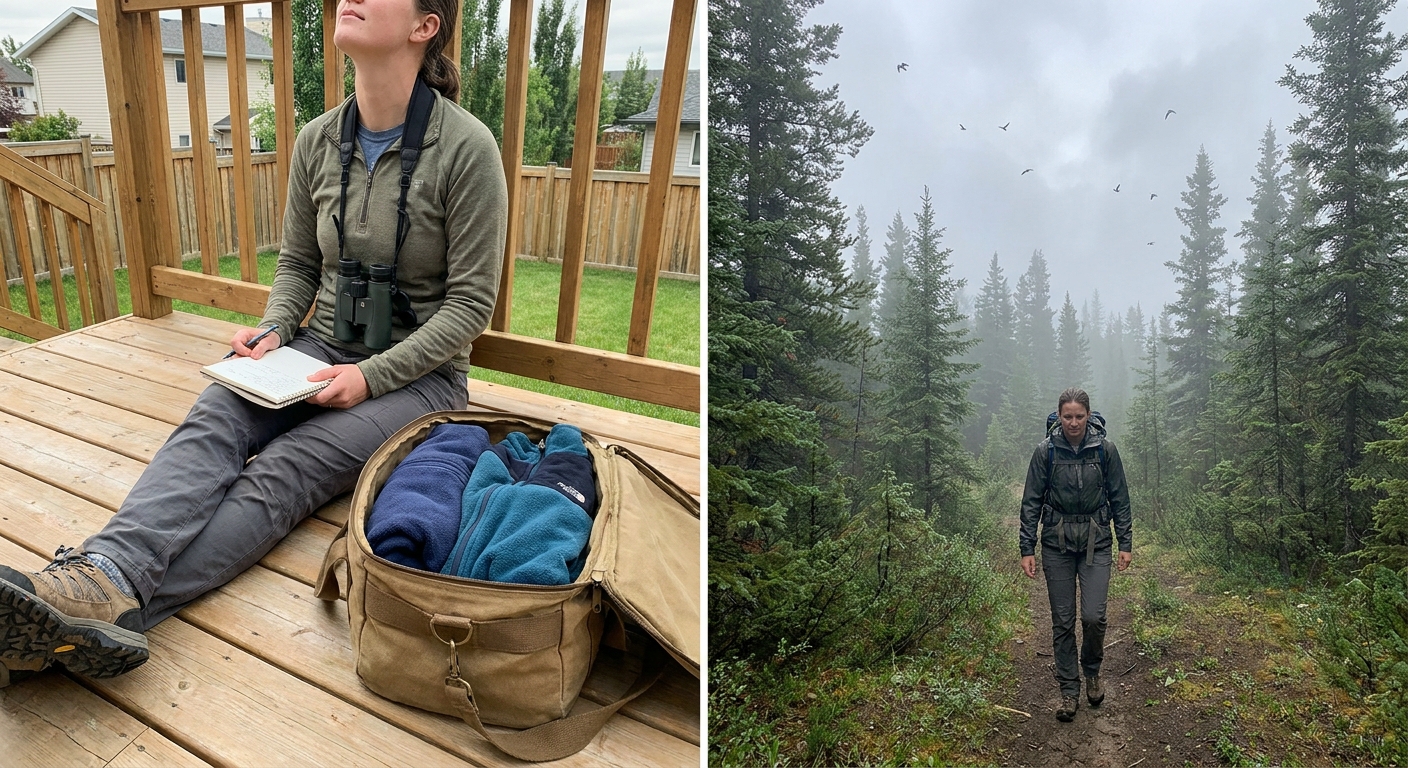
You don’t need a truckload of equipment to become a skilled birder. Many great observers began with a single pair of binoculars and a dog-eared field guide. What matters is how you use your gear—and how you add pieces as your curiosity leads you from the backyard feeder to distant marshes and mountain passes.
Birding Gear as a Ladder: Start Small, Climb Steadily
This guide is organized as a layered system, matched to three stages of birding and the habitats that often come with them. At each step you’ll see how specific gear choices support sharper identification, more comfortable field time, and closer attention to seasonal changes.
Layer 1: Backyard & Local Park Kit
This is the foundation: minimal gear that still lets you distinguish common species accurately and notice fine details.
Essential Optics: One Good Pair of Binoculars
Start with dependable binoculars and learn them well.
- Recommended formats: 8×32 or 8×42.
- Focus speed matters more than maximum zoom. Birds in shrubs move quickly; you need to go from a crow in the distance to a chickadee at arm’s length in one smooth turn.
Practice drill:
- Stand at your window or on your porch.
- Without optics, pick up movement—a sparrow at the feeder, a jay in a tree.
- Raise your binoculars without losing the bird in your view. This builds crucial muscle memory.
Field Guide Choices for Beginners
For nearby habitats—yards, parks, ponds—choose a regional field guide that:
- Shows multiple poses: perched, in flight, male/female, juvenile.
- Highlights key field marks in simple language.
Use the guide after you’ve observed the bird. Note first:
- Shape (plump vs. slender)
- Bill type (conical like a finch vs. thin like a warbler)
- Tail behavior (pumped, flicked, cocked)
Backyard identification tip:
At a feeder, compare two brown streaky birds:
- House Sparrow: Chunky bill, blocky head, males with gray crown and black bib.
- Song Sparrow: Slimmer, long rounded tail often pumped, central dark spot on breast, more contrasty head stripes.
Learning to note structure and behavior first will serve you for rarer birds later.
Simple Comfort Gear
Even for short outings:
- Lightweight notebook: Record first arrivals in spring and last departures in fall.
- Stable shoes: So you feel comfortable shifting quietly on uneven ground or damp grass while tracking movement in shrubs.
Over a single year, your own notes will reveal seasonal patterns—when warblers flood through your park, when the first juncos appear—making each migration feel more personal.
Layer 2: Wetlands, Woodlands, and Longer Walks
As your radius expands, your gear needs to serve more habitats and conditions while remaining packable.
Clothing as a Field Tool
In woods and marshes, what you wear starts to shape what you see.
- Muted colors: Browns, greens, and grays break up your outline along forest edges and reedbeds.
- Non-rustling fabrics: A stiff raincoat can spook a nearby rail or warbler.
- Quick-dry pants: Morning dew in meadow or marsh will soak jeans quickly.
Habitat link: In a cattail marsh at dawn, quiet clothing and slow movements allow you to observe the difference between a Swamp Sparrow (rufous wings, clear gray face) and a Song Sparrow (heavier streaks, longer tail) as they skulk at the water’s edge.
Daypack Essentials for All-Weather Birding
For half-day trips into wooded trails or wetland boardwalks:
- Compact daypack with:
- Water and snacks
- Lightweight rain layer
- Small sit pad (foam square or folded trash bag)
- Extra socks in a zip bag
- Lens cloth and small brush
Field advantage:
- A sit pad lets you quietly observe a mixed flock high in canopy or wait for a shy bittern at pond’s edge, instead of fidgeting because a log is damp or cold.
Basic Audio Tools: Tuning Your Ear
Birds in dense cover often reveal themselves first by sound.
- Phone with a recording app: Capture unfamiliar songs and calls.
- Good field guide app: Check your guesses after the outing, not during every call.
Woodland identification tip:
Use audio to separate similar songs:
- Red-eyed Vireo: Measured, questioning phrases, often described as, “Here I am—Where are you?—In the trees—Over here.” Song seems endless.
- Warbling Vireo: More fluid, run-together warble, often in riparian areas.
Record a brief clip of each and note the habitat: upland mixed forest vs. streamside cottonwoods. The combination of song and setting becomes a powerful clue.
Layer 3: Open Country, Coasts, and Travel Birding
Once you range beyond local greenspaces—into shorelines, grasslands, mountain passes—your gear shifts again. Now stability, reach, and durability become more important.
Spotting Scope and Tripod: Distant Detail
In open landscapes, a scope reveals field marks invisible through binoculars.
- Shorebirds on mudflats: A scope lets you parse subtle differences:
- Lesser Yellowlegs: Slimmer, shorter bill (about head length), more delicate.
- Greater Yellowlegs: Bulkier, longer bill (about 1.5× head length), often slightly upturned.
- Seabirds and distant ducks: Head shape, bill size, and flank pattern become diagnosable at 30–40×.
Choose a scope you can carry comfortably and a tripod that won’t wobble in wind. A simple fluid head allows smooth panning through flocks.
Travel-Ready Clothing and Packs
For day-long coastal or grassland birding:
- Wind-resistant shell: Essential at sea cliffs or on open dikes where gusts can chill you quickly.
- Broad-brimmed hat: Cuts glare from water when trying to pick subtle mantle shades on gulls.
- Hydration system: Bottle or bladder that encourages steady sipping rather than long, thirsty gaps.
Grassland ID tip:
From a roadside or trail overlook:
- Use your scope to watch displaying larks and pipits. Note where songs originate (ground vs. in flight), flight style (fluttering, parachute-like descents), and tail patterns flashing white or dark. Gear that lets you stay in place quietly pays off in clues behavior alone can provide.
Camera Gear: Documenting the Tough Ones
Photography can be an identification tool rather than a separate hobby.
Entry-Level Photo Setup
- Smartphone plus binoculars: With practice, you can align the phone camera against one eyepiece for quick record shots.
- Clip-on phone adapters for bins or scopes: More stable and easier to use in a hurry.
When photos help most:
- Gulls in winter plumage
- Immature raptors with patchy molt
- Quick flyby birds where you only glimpse shape and color
Back home, you can zoom in on:
- Tail banding on a hawk
- Leg color on a shorebird
- Subtle facial lines on a sparrow
These details are hard to lock in with memory alone, especially when you’re still building your field sense.
Fine-Tuning Identification with Gear
Your gear doesn’t just make you comfortable; it sharpens how you observe. Here’s how to make it work for you.
Using Optics to Study Structure First
Whenever you find a new bird, spend your first 10–15 seconds on:
Overall shape: Slim, chunky, long-tailed, short-winged?
Posture: Horizontal or upright? Tail cocked or drooped?
Movement style: Creeping, bouncing, hovering, sallying out and back?
Use your binocular’s field of view to keep some habitat visible around the bird:
- A waterthrush walking along a stream edge looks different from a warbler gleaning mid-story leaves, even if plumage is similar.
Only after this do you zoom in mentally on specific marks: supercilium (eyebrow), wing bars, tail pattern.
Notebook as an Identification Partner
No matter your level, a small notebook and pencil can be as important as expensive optics.
- Write short, structured entries:
- Date and time
- Weather and light conditions
- Habitat type ("shallow reed-fringed pond," "dry scrub hillside")
- Bird details in bullet points
Example note for an unknown fall warbler:
- Small, slim, active in outer branches
- Constant tail pumping downward
- Eye ring complete, bold
- Pale underside, hint of yellow on flanks
- No wing bars
- Foraging in willows near water
With this note, a later field guide session may point clearly to Orange-crowned Warbler, even if your memory has blurred.
Seasonal Adjustments: Same Gear, Different Emphasis
Your core kit stays similar across the year; how you use it shifts.
- Spring migration: Keep optics and notebook ready for fast-moving canopy flocks. Focus on brief but repeated views; use audio tools for complex songs.
- Summer breeding season: Optics help you watch behavior—food carries, nest building, territorial displays. Audio helps you map territories by song.
- Fall migration: Optics and camera support slow, careful study of confusing fall plumages and juvenile birds.
- Winter: Clothing takes center stage. Staying warm lets you watch waterfowl and raptors for fine distinctions in plumage and structure.
Building Your Own Layered System
Instead of chasing every new gadget, build your gear in responsive layers:
- Backyard & park core: One good pair of binoculars + a regional guide + notebook.
- Local wild spaces: Add a comfortable daypack, weather-appropriate clothing, and basic audio tools.
- Open country & travel: Add a spotting scope with tripod, sun/wind protection, and a simple camera solution.
At every step, ask: Will this help me watch birds longer? Will it help me notice more details? If the answer is yes, the gear belongs.
Birding rewards patience and refinement. The more your equipment quietly supports you—keeping you warm, steady, and focused—the more the birds themselves take center stage: a line of distant scoters on rough surf, the soft trill of a hidden winter wren in dark cedar, the first returning swallows stitching the sky over a thawing marsh.
Your gear is the ladder; the view from each new rung is what makes the climb worthwhile.