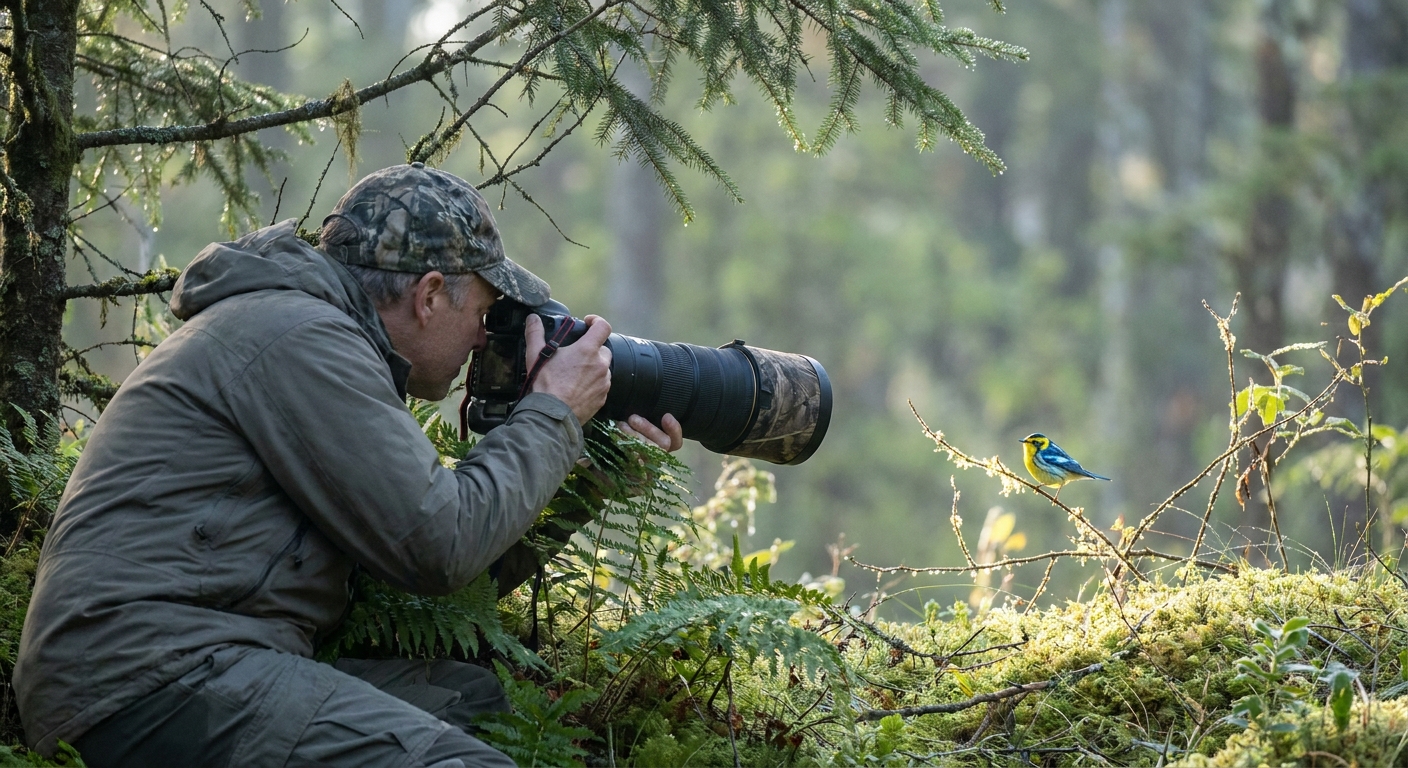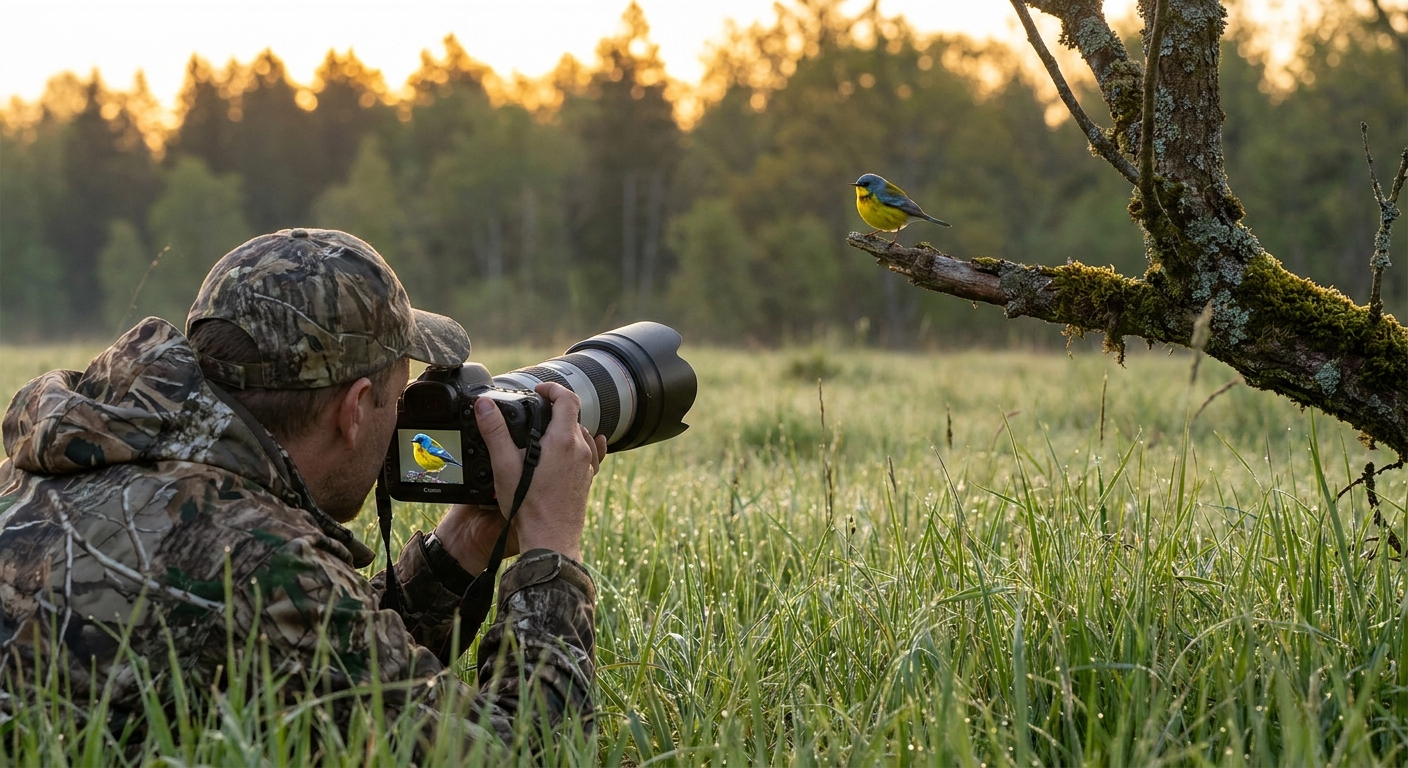
Good bird photography isn’t only about camera settings; it’s about understanding birds well enough to predict where to point that camera. The most rewarding images happen when birdcraft (reading habitat, behavior, and season) meets camera craft (focus, exposure, and timing).
Introduction: Blending Birdcraft and Camera Craft
This list-style guide offers ten practical, field-tested techniques that help birdwatchers of every level create sharper, more informative, and more evocative bird photographs.
1. Start with the Common Birds in Familiar Habitats
Every region has its regulars: chickadees at the feeder, egrets in the marsh, pigeons on city rooftops. They are your best practice partners.
- Use local parks and backyards as training grounds.
- Photograph the same species in different lights and seasons.
- Challenge yourself: capture at least one clear image that shows a new field mark each time—a subtle mantle color, a feather wear pattern, a change in leg tone.
By the time you encounter rarer or shyer species, your skills will be quietly polished by countless practice sessions with the familiar.
2. Read the Habitat First, Then Raise the Camera
Before you even think about autofocus modes or ISO, sweep the scene like a field naturalist.
Ask:
- What habitats are present? (reeds, mudflats, dense shrubs, conifers, open water)
- What bird guilds do these support? (warblers in foliage, rails in marshes, shorebirds on exposed mud)
This mental pre-checklist narrows your expectations:
- A bobbing tail on a streamside rock likely suggests a wagtail or dipper, depending on your region.
- Tiny, rapid movements in the outer branches of canopy trees often point to kinglets or warblers.
Once your mind has an educated guess, your camera work becomes more deliberate—you’ll know to aim for key ID features of likely candidates.
3. Learn the Postures That Reveal Field Marks
Certain poses reveal what field guides emphasize.
- Side-on, slightly angled toward you: ideal for overall shape, bill, wingbars, and breast pattern.
- Three-quarter front view: good for face pattern, throat, and breast.
- Tail-cocked or spread: helps separate similar species (e.g., different wrens, some flycatchers and pipits).
Field Technique
When a bird lands:
- Take a quick "record shot"—even if distant.
- Watch its rhythm: grooming, looking around, foraging.
- Time your bursts for when it lifts its head or turns sideways.
This patient approach yields photos that double as identification plates.
4. Use Light to Sculpt Plumage, Not Just Illuminate It
Light direction and quality dramatically affect how field marks appear.
- Front or three-quarter light: brings out true color and fine detail in feathers.
- Side light: emphasizes texture, useful for differentiating smooth vs. scaly-looking plumage.
- Backlight: tricky, but can highlight translucent feathers or create rim-light around silhouettes.
Practical Settings
- In early morning or late afternoon, start around f/5.6–f/7.1, ISO 400–800, and adjust shutter speed to stay at 1/1000s or faster for moving birds.
- If the light is harsh, consider exposure compensation of -0.3 to -1.0 EV to avoid blown whites on gulls or egrets.
Review your images in the field. Ask: Can I clearly see the bird’s eye, bill, and key plumage patterns? If not, adjust your angle relative to the sun and try again.
5. Tame the Background: Habitat Without Clutter
Bird photography thrives on context—but cluttered backgrounds distract from field marks.
Soft Context, Clear Subject
- Position yourself so that distant foliage or water forms a soft, uniform backdrop behind the bird.
- Shoot at wider apertures (lower f-numbers) when the habitat is busy: tangled branches, reeds, or city structures.
- Shift slightly left or right to move the bird against a cleaner portion of the background.
Include just enough habitat to tell a story:
- A sparrow on a cattail stem vs. the same bird on a gravel path suggests different likely species.
- A shorebird in a wet, reflective mudflat vs. a dry sandy beach narrows identification questions.
6. Anticipate Behavior Using Seasonal Clues
Season is one of the strongest predictors of what birds will do next—and therefore how to photograph them.
Spring
- Birds are singing and displaying.
- Focus near song posts—exposed perches used repeatedly.
- Use continuous shooting to capture open-bill singing poses that show throat pattern and gape color.
Summer
- Watch for feeding flights from adults to fledglings.
- Position yourself at a respectful distance along obvious flyways between nest area and feeding grounds.
Fall
- Mixed-species flocks move through trees and shrubs.
- Photograph groups to compare similar species side by side.
Winter
- Birds conserve energy, often visiting reliable food sources and roosts.
- Use slower, deliberate approaches and longer lenses; birds are less inclined to waste energy flying repeatedly.
Planning your shots around seasonal behavior yields images that show birds engaged in natural routines, not just perched and wary.
7. Optimize Autofocus for Small, Restless Subjects
Birds rarely sit still, and they love branches that appear perfectly designed to confuse autofocus.
Recommended AF Strategies
- Use Continuous/AI-Servo autofocus for any moving bird.
- Start with a single focus point or a small cluster to avoid locking onto branches instead of the bird.
- For birds in flight over clear backgrounds (sky, water), expand to a wider AF area to make tracking easier.
If your camera offers subject detection for birds or animals, test it in simple situations first (a heron on open water) before trusting it in dense foliage.
Remember: the priority is always a sharp eye. Soft wings are forgivable; a soft eye rarely is.
8. Use Burst Modes with Intention, Not Panic
Continuous shooting is useful, but only when guided by observation.
Instead of holding the shutter endlessly:
- Watch the bird for patterns—head-bobs, tail flicks, wing stretches.
Time short bursts (3–5 frames) to coincide with decisive moments:
- A kingfisher diving or emerging with a fish - A tern twisting mid-air - A wader lifting its foot, revealing leg color and toe length
This approach results in fewer, but better, frames to review—and it trains your eye for behavior, not just motion.
9. Pack a Thoughtful Kit: What Matters More Than Megapixels
Fancy specs are less important than usability in the field.
Essential Gear
- Camera body with reliable autofocus and decent high-ISO performance.
- Telephoto lens in the 300–500mm range (zoom or prime).
- Binoculars: still vital for initial spotting and behavior reading.
- Light tripod or monopod, especially for long sessions with heavy lenses.
Nice-to-Haves
- Beanbag or ground pod for low-angle shorebird or waterfowl shots.
- Rain cover or plastic bag; some of the best bird activity happens in light rain or mist.
- Notebook or note app to jot down observations: call types heard, wind direction, tide stage.
The goal is a reliable, comfortable setup that lets you watch and photograph for hours without fatigue.
10. Review Your Images Like a Detective, Not a Critic
After each outing, treat your photos as field notes frozen in time.
Ask of each frame:
- What new detail do I notice now that I missed in the field?
- Which shots best reveal ID features—bill, face, wings, tail, legs?
- What habitat clues are included—plant species, water conditions, seasonal indicators?
Create small comparison sets:
- Different ages of the same species side by side.
- Birds in fresh vs. worn plumage a month apart.
- The same species in two different habitats.
This deliberate review transforms casual snapshots into a personal study collection. Over time, you’ll start to see patterns: which angles work best, which habits birds show before flight, and which habitats consistently produce good opportunities.
Closing: Let Curiosity Guide Your Next Frame
The most compelling bird photographs are made by people who are curious first and technical second. Camera settings can be learned quickly; the patient habit of watching birds, reading landscapes, and anticipating behavior takes longer—but pays greater dividends.
Next time you head out, choose one or two techniques from this list to focus on. Perhaps you’ll practice background control in your local wetland, or make a small study of how light changes the colors of your backyard finches from dawn to midday.
With each careful observation and each thoughtful frame, you’re not just collecting images—you’re building a richer, more nuanced understanding of the birds that share your world.