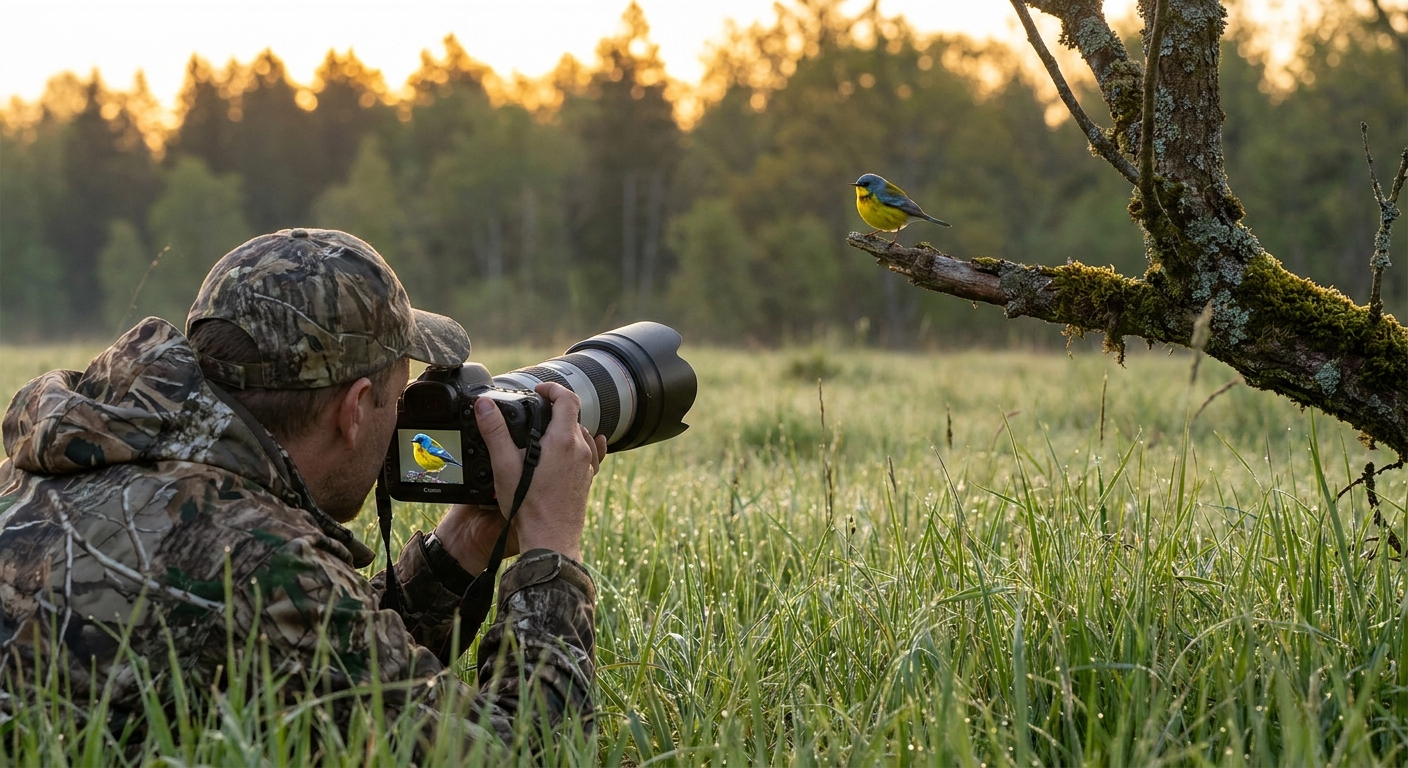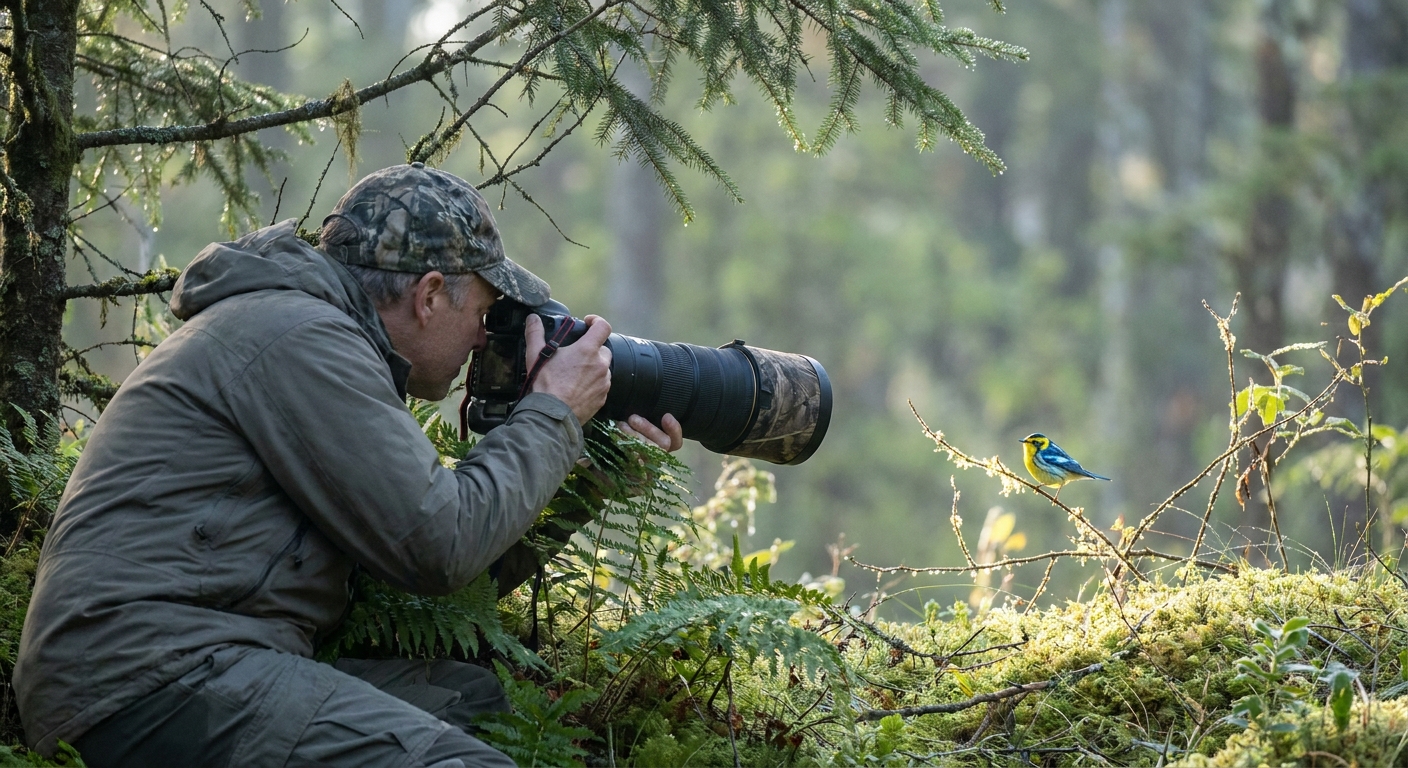
Bird photography becomes much more rewarding when you approach it like a field guide author rather than a trophy hunter. Each image is not just a pretty picture, but a record of habitat, posture, plumage, and behavior. This mindset both improves your photos and deepens your birding skills.
Introduction: Photographing Birds Like a Field Naturalist
In this guide, we’ll walk through species identification tips, seasonal and habitat context, and practical gear and technique advice—always with one question in mind: What can this photograph teach us about the bird?
The Field-Guide Mindset: Photograph to Learn, Not Just to Collect
Before you press the shutter, ask yourself:
- What key features could help someone ID this bird later?
- What does the background say about the habitat and season?
- What behavior am I capturing (foraging, preening, singing, courtship)?
This approach naturally leads you to compose images that show:
- Clear side views of the bird (for body proportions and plumage)
- Close attention to bill shape and color
- Leg color and length where possible
- Wing and tail patterns
- Subtle seasonal differences in plumage
Over time, your photo library becomes a personal reference of field marks across ages, seasons, and locations.
Reading the Landscape: Habitat and Season as ID Clues
Experienced bird photographers often identify a bird before lifting the camera, using habitat and timing.
1. Forests and Woodlots
In deciduous woods, listen and look high. Warblers, vireos, and tanagers often betray themselves by movement and song rather than silhouette.
Field tip: When you notice a small passerine flitting at mid to upper canopy in May, consider:
- Warblers – small, slim, sharp bills; often show wingbars, eye-rings or supercilia (eyebrows)
- Vireos – a bit chunkier, thicker bills, slower deliberate movements, often with faint spectacles
Photograph several angles if you can. Even a partially obscured shot that captures a face pattern can clinch an ID later.
2. Wetlands and Shorelines
Lakesides, marshes, and tidal flats favor herons, egrets, shorebirds, and waterfowl.
- Herons and egrets: Long legs, S-shaped necks, dagger bills. Pay attention to leg and bill color—e.g., yellow legs suggest Snowy Egret, blackish legs suggest Little Egret or other species, depending on your region.
- Shorebirds: Proportions matter. Compare bill length to head length in your photos; that often separates similar sandpipers.
Include a bit of shoreline or vegetation in your frame to record habitat. Those reeds or barnacle-covered rocks may later narrow down likely species.
3. Fields, Edges, and Suburbs
In open habitats you’ll often encounter sparrows, blackbirds, finches, and raptors.
- Sparrows: Photograph the head from the side and front if possible. Look for crown stripes, mustache marks, and breast spotting.
- Raptors: Capture flight shots that show underwing pattern and tail shape. Perched images with a clear view of the chest and head can reveal streaking patterns and eye color.
Even common backyard birds are worth detailed images—your future self will thank you when working through tricky plumage stages.
Species Identification in the Frame: What to Prioritize
When you’re watching a bird through your viewfinder, you have seconds to decide what matters most.
1. Bill, Face, and Head Pattern
The head is often the most diagnostic area.
- Aim for a sharp eye and bill in at least one frame.
- Note eye-rings, eye-lines, supercilia, and eyebrow contrasts.
- Capture crown patterns (stripes, caps, crests) when the bird looks slightly downward or sideways.
2. Wings, Tail, and Overall Shape
Field guides emphasize wingbars, tail length, and body shape for good reason.
- Wingbars: Photograph the bird in a relaxed pose with folded wings to show any bands.
- Tail: Note whether it’s short and stubby, medium, or long and graduated. Try to catch a view from the side and rear.
- Posture: Some species (e.g., pipits vs. sparrows) have distinct carriage—longer-legged, more upright poses that your photos can preserve.
3. Plumage Details Across Seasons
Plumage can change dramatically.
- Spring: Breeding plumage often shows brighter colors and sharper contrasts; focus on clean, unclipped portraits to capture detail.
- Fall and winter: More subdued; photograph groups to capture variation among individuals and ages.
Keep notes in your image metadata or field notebook about date, location, and weather—crucial context for interpreting plumage.
Gear: Choosing Tools That Reward Careful Observation
You don’t need the most expensive kit, but certain features help bird photographers.
1. Lenses
- 300–500mm reach is ideal for most birding situations.
- Zooms (e.g., 100–400mm) offer flexibility when birds move closer or farther.
- Prime lenses (e.g., 400mm, 500mm) often provide better sharpness and low-light performance but are heavier.
Use teleconverters thoughtfully; they can extend reach but may reduce autofocus speed and image quality.
2. Cameras and Settings
Key camera features for bird photography:
- Fast autofocus with tracking
- Decent high ISO performance for dawn and dusk
- Continuous shooting to capture wing positions and behaviors
Practical settings to start with:
- Mode: Aperture Priority (e.g., f/5.6–f/8) for a good balance of sharpness and background blur
- ISO: Auto ISO with a reasonable cap based on your camera’s noise performance
- Shutter speed: Aim for 1/1000s or faster for birds in motion; 1/500s can suffice for perched birds.
Field Technique: Moving Like a Birder, Shooting Like a Photographer
1. Approach and Ethics
- Stay on paths where possible; avoid trampling vegetation or disturbing nests.
- Use your binoculars first. Identify the bird’s favorite perch or feeding route before moving in.
- Move slowly and predictably. Sudden, direct approaches often flush birds.
2. Using Light to Reveal Field Marks
- Early morning and late afternoon provide soft, angled light that reveals texture and subtle color.
- Keep the sun generally behind you or off to one side to avoid silhouettes unless you’re intentionally shooting backlit effects.
- When photographing pale birds (e.g., egrets, gulls), use exposure compensation (+/- EV) to avoid blown highlights or overly dark frames.
3. Composing Images That Teach
Think like an illustrator of a field guide:
- Include a bit of the bird’s environment—a reed, a branch type, seaweed—to help remember the habitat.
- Try for a clean background where possible to make field marks stand out.
- Capture behavior sequences—a foraging shorebird probing, a warbler gleaning from leaves, a wren singing from an exposed perch.
These context-rich images are more useful for identification and more satisfying to revisit.
Seasonal Field Notes: What to Practice When
Spring: Song and Courtship
- Focus on displaying males: singing, wing-fluttering, and courtship feeding.
- Practice capturing open bills and throat expansion during song—often key to IDing cryptic species later from your photos.
Summer: Family Life
- Early in the season, document adults carrying food and feeding fledglings.
- Note plumage differences between juveniles and adults—streaked vs. clean breasts, dull vs. bright bills.
Fall: Migration Mixes
- Practice photographing flocks and mixed-species foraging groups.
- Use your images to compare subtle differences among similar species (e.g., multiple sandpipers in one frame).
Winter: Subtle Plumages, Stark Light
- Study and photograph gulls, waterfowl, and sparrows in their non-breeding plumage.
- Use low-angle winter light to highlight textures on wings and backs.
Building a Photo Library as a Personal Field Guide
Over months and years, organize your bird photographs in ways that support learning:
- By species – to trace plumage changes and age classes
- By habitat – to see which birds frequent certain environments
- By month or season – to understand timing of arrivals, departures, and molt
Tag images with behavior ("foraging", "singing", "courtship") and key field marks ("eye-ring", "wingbars", "streaked breast"). Your collection becomes a searchable, living field guide tailored to your region.
Conclusion: Let Curiosity Drive the Shutter
Every bird photograph is an opportunity to notice something new: a barely perceptible eye-ring, an unexpected habitat, a nuanced shade in the wing. When you blend careful observation with thoughtful technique, your images will not only be beautiful but also genuinely informative.
Carry your camera as you would a notebook and pencil: a tool for seeing more clearly. With each outing, aim to come home not only with pleasing images, but with one new detail about a familiar bird—and perhaps a fresh mystery to explore on your next walk along the plumage trail.